
It is common to buy a Raspberry Pi, use it for a week, and then stick it in a drawer, only to forget about it. And while the Pi 5 is the latest and greatest in the series, that doesn’t mean that older models are useless—far from it. They can be quite useful if you stick to the right tasks.
These are 5 tech hobbies that you can try out with an old Raspberry Pi without spending a ton of money on new equipment.
Retro gaming and emulation
An old Pi is the cheapest ticket into the retro gaming hobby
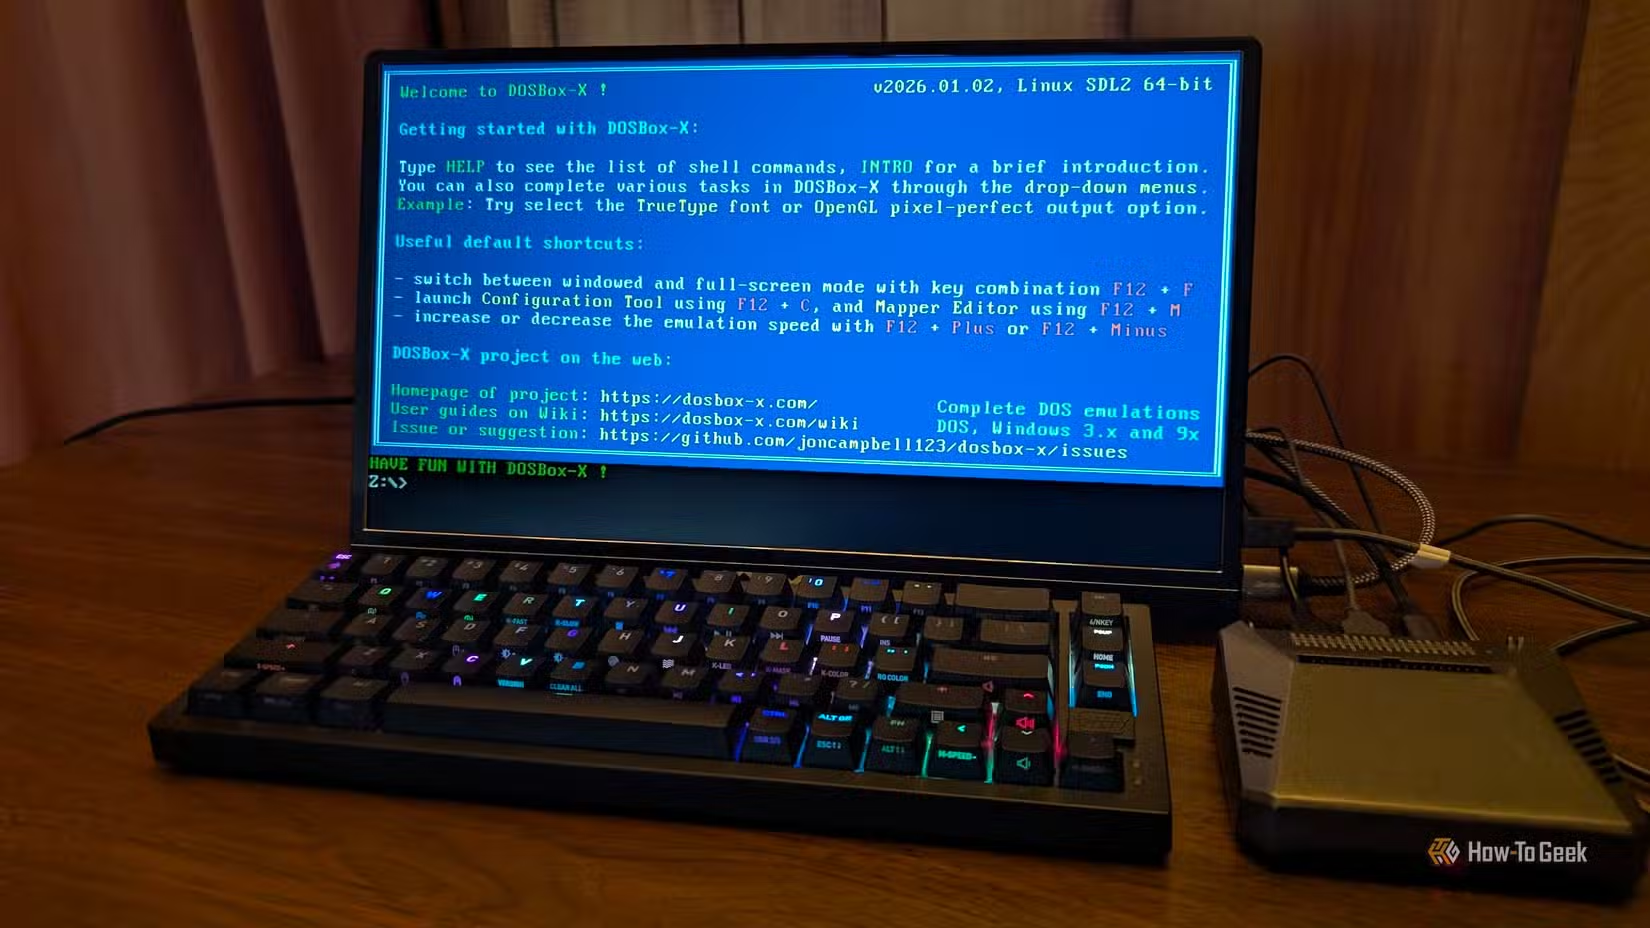
If you want to try retro gaming, you don’t need a high-end PC or a console. You can turn you Raspberry Pi into a specialized emulation PC for classic games using software like RetroPie, Batocera, or Lakka.
The hardware requirements are pretty forgiving. A Pi 3 can handle many things up through the PlayStation 1 era reasonably well, and a Pi 4 can even handle things in the N64 range, including some PC titles from the same era.
If you’re looking to revisit some titles from the late 1990s, a Pi is a great way to do it without spending a lot of money. All you need is a microSD card, a controller of your choice, and a ROM.
Just keep in mind that emulating newer titles isn’t really viable on a Pi.
Homelabbing
Network-wide ad blocking with Pi-hole
There are dozens of homelabbing projects out there, but a Pi-hole is one of the best ways to try out home networking specifically. It sits between the devices on your network and an external DNS server, where it can selectively filter out requests to load trackers and ads for every device on your network. Effectively, it can block ads before they ever load.
A Pi-hole will run on literally almost anything. I’ve run a Pi-hole on a Pi Zero, Pi 3b, Pi Zero 2W, and a Pi 4, and I didn’t really notice much of a difference between them.
If you want to cut down on network clutter or just keep an eye on which devices are phoning home, a Pi-hole is a great first project.
To set it up, use the one-line installation script, point your router’s DNS at the Pi, and then use the dashboard to check out what devices on your network are doing.
Build a personal streaming service from media you already own
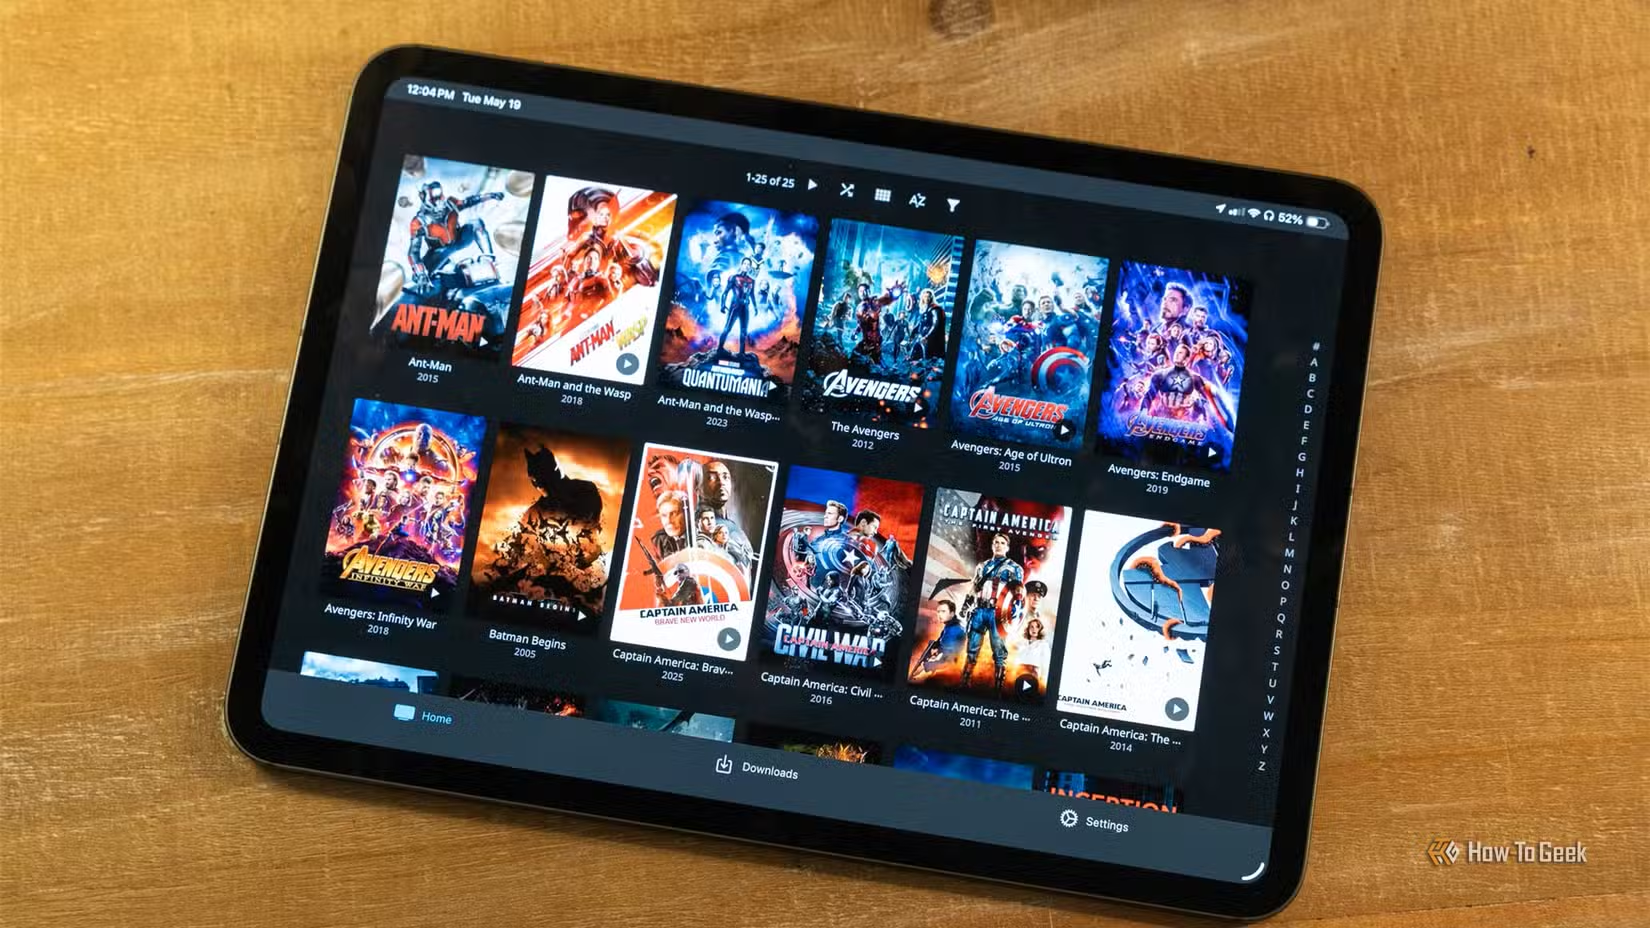
If you have a library of music or other media sitting on a hard drive, you can use a Raspberry Pi to create your own personal streaming service. There are a few different approaches here. Jellyfin and Plex turn your Pi into a streaming server, which literally just streams media from the server to a client device (like a television) on your network. Kodi (usually paired with LibreELEC) allows you to use your Pi as a media player that connects directly to your TV via an HDMI cable.
Almost any Pi is capable of acting as a music media server using Navidrome, but I’d recommend sticking to a Pi 4 or Pi 5 if you’re dealing with video at all. You can use lower-power or older devices, but your experience probably won’t be very good.
To start, attach an external USB drive, install Jellyfin (or the media server of your choice), and add your media folders. Once the server is running, just install the client app on your playback devices.
Smart home automation
Turn a zoo of smart gadgets into a tidy system
Smart homes can be very cool, but if you have a smart home ecosystem with devices from different brands, you’ll quickly find the number of apps you need to actually control the whole setup growing aggressively.
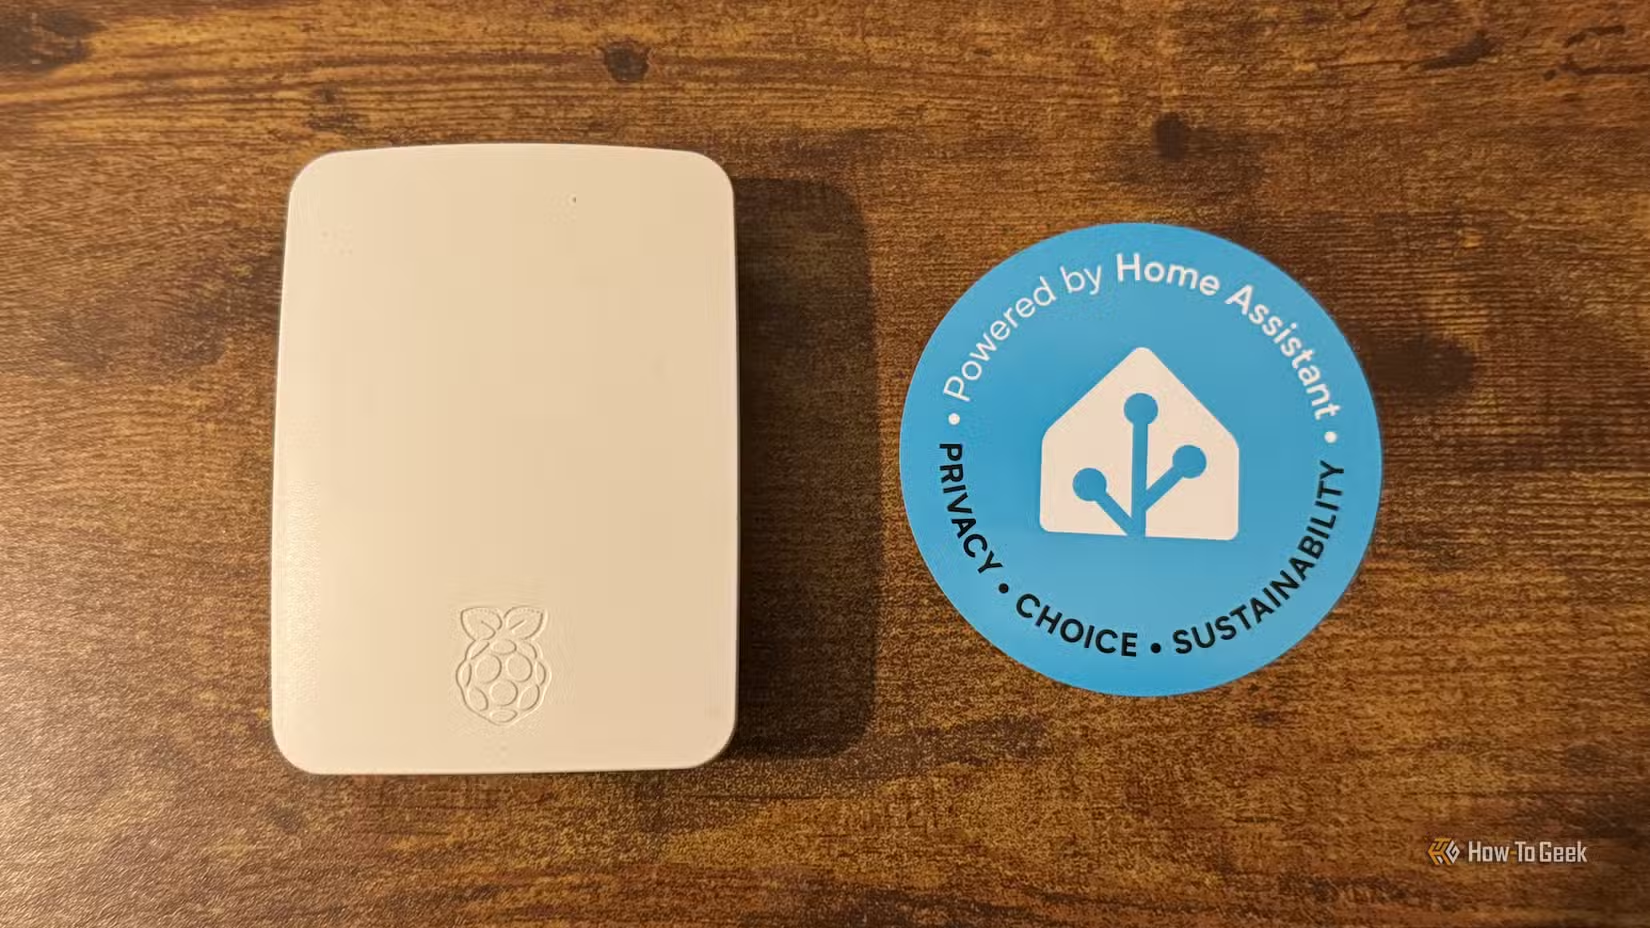
To fix the issue, you can install Home Assistant on your Raspberry Pi, which makes it act as a local hub that can control all the devices from major brands using one interface. Additionally, the entire thing is local, which means none of your data is forwarded to the cloud for processing. It is just you, Home Assistant, and 16 smart lightbulbs from 5 different manufacturers.
I’d recommend a Pi 4 or a Pi 5 with at least 2GB of RAM for a Home Assistant server—like with many things, you could probably get away with less, but I wouldn’t recommend it.
Home Assistant can be as simple or as complex as you want it to be. Creating automations that turn lights on or off is simple, but you can tie together cameras, thermometers, smart blinds, and lights in almost any way you want, and it can get pretty involved.
Electronics and physical projects
The Pi was purpose built for this
If you want to try your hand at something more physical, you actually can’t do much better than a Raspberry Pi—they’re literally designed and built for it. The GPIOs found on most Raspberry Pis allow you to wire up and control LEDs, buttons, motors, sensors, relays, and dozens of other assorted components using Python, Rust, C, or a few other languages of your choice.
The GPIO header is quite similar between generations and between devices, which means that many tutorials written for a Pi Zero 2 W will be broadly applicable to a Pi 4, even if the specifics change a little bit.
Things changed with the Pi 5. Double-check any older tutorial you’re following if you have a Pi 5 for compatibility issues.
I’d recommend buying a few things before jumping into a project, however. BEsides a Pi, you’ll need a breadboard, some jumper wires, and a basic sensor kit. That’ll allow you to try a dozen or so projects without investing a ton of money.
A Pi is best when it isn’t a full PC
Raspberry Pis of all generations and makes excel when you need a device that is low-power and single purpose. Using a PC for that sort of task is a waste of money and power, and trying to use a Pi as a full PC is an uphill battle.
I’d recommend sticking to Pi projects that try to solve a problem first. If a Pi becomes a major part of solving a daily issue, it is much less likely to be stuck in a drawer and forgotten.