
Windows doesn’t need third-party utilities to take care of itself. With the right built-in tools and a bit of setup, a PC can check its own health, repair corrupted files, and even recover from a failed boot without much help from you.
Task Scheduler
The quiet automation engine behind every repair routine
Task Scheduler is the piece that ties everything else together. On its own, it doesn’t fix anything, but it runs other tools at set times or in response to specific events, so repairs happen without anyone having to remember them. You can open it by searching for Task Scheduler in the Start menu or by running taskschd.msc, and the Create Task option gives you far more control than the simplified Create Basic Task wizard.
Triggers are where the tool gets interesting. A task can run on a fixed schedule, at startup, at logon, when the computer goes idle, or when a particular entry appears in the Event Viewer. That last option lets a maintenance script run in response to a logged error, such as an unexpected shutdown, instead of waiting for the next scheduled window.
For system maintenance, a few settings matter more than the rest. Repair commands need administrator rights, so set the task to run with the highest privileges and allow it to run whether a user is signed in or not. Running it under the SYSTEM account avoids storing a password and keeps it independent of any single user profile. On a laptop, the Conditions tab can restrict the task to times when the machine is plugged in, which prevents a long scan from draining the battery.
The Settings tab also lets you run a task as soon as possible after a scheduled start is missed. That’s useful for a PC that isn’t always powered on at the chosen hour, since a skipped weekly check simply happens the next time the machine is available.
The practical result is a single scheduled task that launches a script containing the repair commands covered below. Once configured, it runs in the background, and its history tab shows when each run happened and whether it finished successfully.
DISM (Deployment Image Servicing and Management)
Fixing the source Windows uses to repair itself
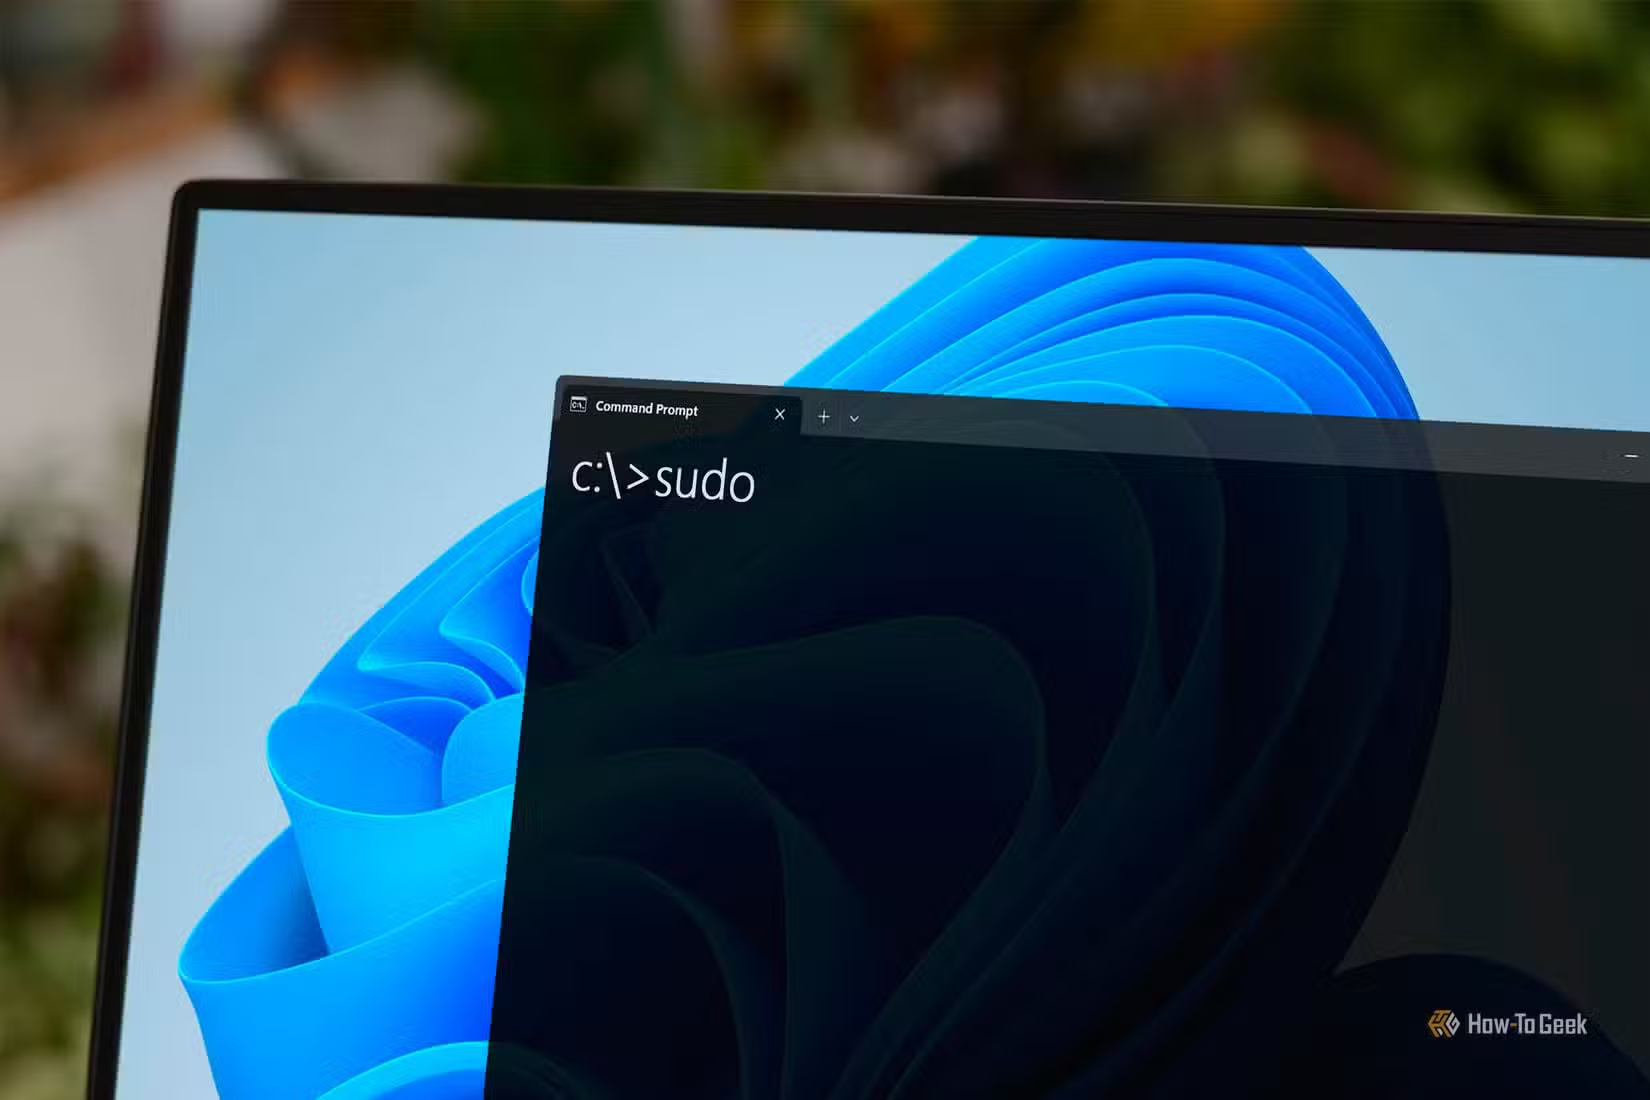
DISM is a command-line tool originally built to prepare and service Windows images, but it has become one of the most useful repair utilities on a running system. Its value comes from what it repairs: the component store, a folder of reference files located in C:\Windows\WinSxS that Windows relies on when installing updates and restoring damaged system files. If that store is corrupted, other repair tools have nothing reliable to work from.
DISM offers three levels of inspection, all run from an elevated Command Prompt or Terminal. The command DISM /Online /Cleanup-Image /CheckHealth quickly checks whether corruption has already been flagged. The /ScanHealth option runs a deeper and slower scan of the component store. Finally, /RestoreHealth scans for problems and repairs whatever it finds, which is the command most people end up using.
By default, RestoreHealth downloads replacement files from Windows Update, so the PC needs an internet connection for the repair to succeed. When that isn’t possible, or when Windows Update itself is part of the problem, the /Source parameter can point DISM to a mounted Windows installation image instead. The image should match the installed version of Windows; otherwise, the repair may fail.
A full RestoreHealth run can take anywhere from several minutes to much longer, and the progress indicator has a habit of pausing at certain percentages. That pause is normal, and interrupting the process is a worse idea than waiting. DISM writes a detailed record of each operation to C:\Windows\Logs\DISM\dism.log, which is the first place to look if a repair reports an error.
In an automated maintenance routine, DISM should run first. Because the System File Checker pulls its replacement files from the component store, repairing that store beforehand gives the next step a healthy foundation. It also means that a problem DISM can’t fix shows up clearly in the logs before anything else runs.
SFC (System File Checker)
Scanning protected system files for silent corruption
System File Checker has been part of Windows for decades, and it remains the simplest way to verify that core operating system files haven’t been damaged or replaced. It works through Windows Resource Protection, which guards critical files, folders, and registry keys. When SFC finds a protected file that doesn’t match its expected version, it replaces it with a clean copy from the component store.
The standard command is sfc /scannow, run from an elevated prompt. The scan checks every protected file and repairs what it can, reporting one of a handful of outcomes when it finishes. The best result is a message stating that no integrity violations were found. Other messages indicate that it found and repaired corrupt files, or that some files couldn’t be fixed. For a scan that only reports problems without changing anything, the /verifyonly switch is available.
SFC’s biggest limitation is its dependence on the component store. If the reference copies are damaged, SFC can’t restore healthy files, which is exactly why running DISM first is the recommended order. When both are chained together in a script, DISM repairs the source, and SFC then uses that source to fix the live system files.
Every scan is recorded in C:\Windows\Logs\CBS\CBS.log. That file is long and noisy, but filtering it for lines tagged with [SR] isolates the entries created by SFC, making it much easier to see which files were affected.
SFC can also work when Windows won’t start normally. From the Windows Recovery Environment, the /offbootdir and /offwindir parameters point the scan at the offline Windows installation, so files can be repaired without booting into the desktop.
There are trade-offs to scheduling it. A scan uses noticeable disk and processor resources, so running it daily is unnecessary for most people. A weekly run during idle hours catches problems early without getting in the way.
Quick Machine Recovery (QMR)
Letting Windows fix boot failures through the cloud

The tools above can only help when Windows starts. Quick Machine Recovery covers the scenario they can’t: a PC that fails to boot at all. It’s a Windows 11 feature that Microsoft built on top of the older Startup Repair tool, and it became available to Home and Pro users starting with the August 2025 security update for version 24H2 and later.
When Windows detects repeated boot failures, the PC enters the Windows Recovery Environment instead of looping endlessly. QMR then connects to the internet over Ethernet or Wi-Fi and checks Windows Update for a remediation that addresses the problem. If a fix exists, it downloads and applies it, then restarts the machine. If the repair doesn’t work, the device returns to the recovery environment with the usual troubleshooting options.
The feature is enabled by default on unmanaged Windows 11 Home and Pro machines, and its toggle lives under Settings, System, Recovery. Devices managed by an organization have it turned off by default, leaving the decision to administrators. An additional setting enables automatic remediation, which makes the PC keep checking for a solution at set intervals rather than stopping after a single attempt. When QMR is switched off, Windows falls back to the local Startup Repair process.
It’s important to understand what QMR is designed for. Microsoft positions it as a response to widespread boot problems, such as a faulty update or driver affecting many devices at once, where the company can identify the issue and push a targeted fix. It isn’t a general-purpose repair tool for problems unique to a single machine, and it can’t help if the PC has no network connection during recovery. Early testing also suggests it may not work on older hardware.
Even with those limits, QMR fills the last gap in a self-healing setup by handling failures that happen before any scheduled script has a chance to run.
Built-in tools that keep Windows running on its own
Task Scheduler automates maintenance, DISM repairs the component store, SFC restores protected system files, and Quick Machine Recovery handles boot failures. Together, they give Windows 11 a layered, largely hands-off way to keep itself healthy without installing any extra software.